
I was sitting in a Dreamforce session about deployments when I first heard the term “Admineloper”. It’s a weird word, but a great way to describe those of us who love our declarative tools, but understand that we’re basically just writing code while we click away in Flow Builder. So, let’s begin our journey to become better Adminelopers.
In this post:
- Install Salesforce CLI
- Download Visual Studio Code
- Install Salesforce Extensions
- Create a Project
- Set a Default Org
- Access Your Metadata
- Additional Resources
Step 1: Install Salesforce CLI
“What’s this?” You ask. “I don’t know command line interface!” you cry. Hey, neither do I! But I bet there was a time you didn’t know how to admin Salesforce, either. Don’t worry – you’ll learn! And it’ll make the rest of this step by step process easier if you install it first. So go install Salesforce CLI.

Note: If you’re using a Mac with Catalina, you will get an error that Apple cannot check the package for malicious software. To solve this, go to System Preferences > Security & Privacy > General and click “Open Anyway”. See a screen grab here.
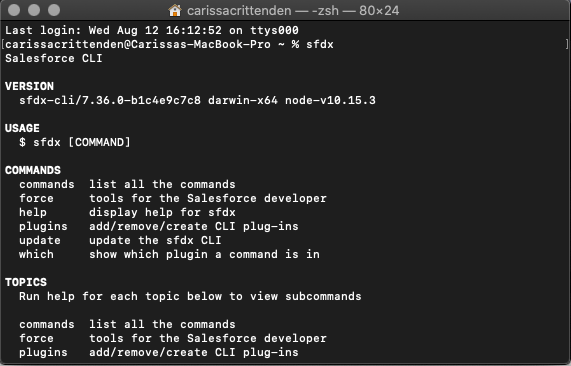
Make sure it’s installed as expected, by using the Terminal application (Mac) or Command Prompt (PC):
- On a Mac: Finder > Applications > Utilities > Terminal
- On a PC: Search the Start Menu for “Command Prompt”
In either application, type “sfdx” and hit enter. You should see something like this:
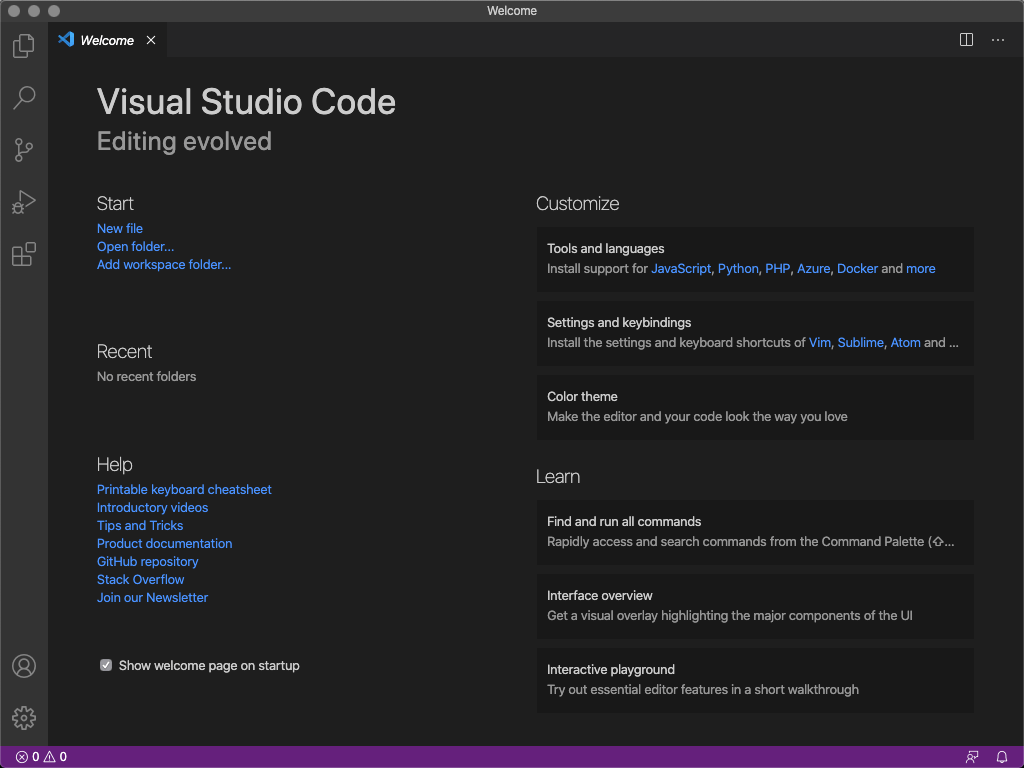
Step 2: Download Visual Studio Code
If you’ve been in the Salesforce ecosystem a while, you’ve heard about “Force IDE” – basically, a “let me update my code in a better tool than the Dev Console”. Force IDE is the old way. Microsoft Visual Studio Code is the new way – and you can download it for free.
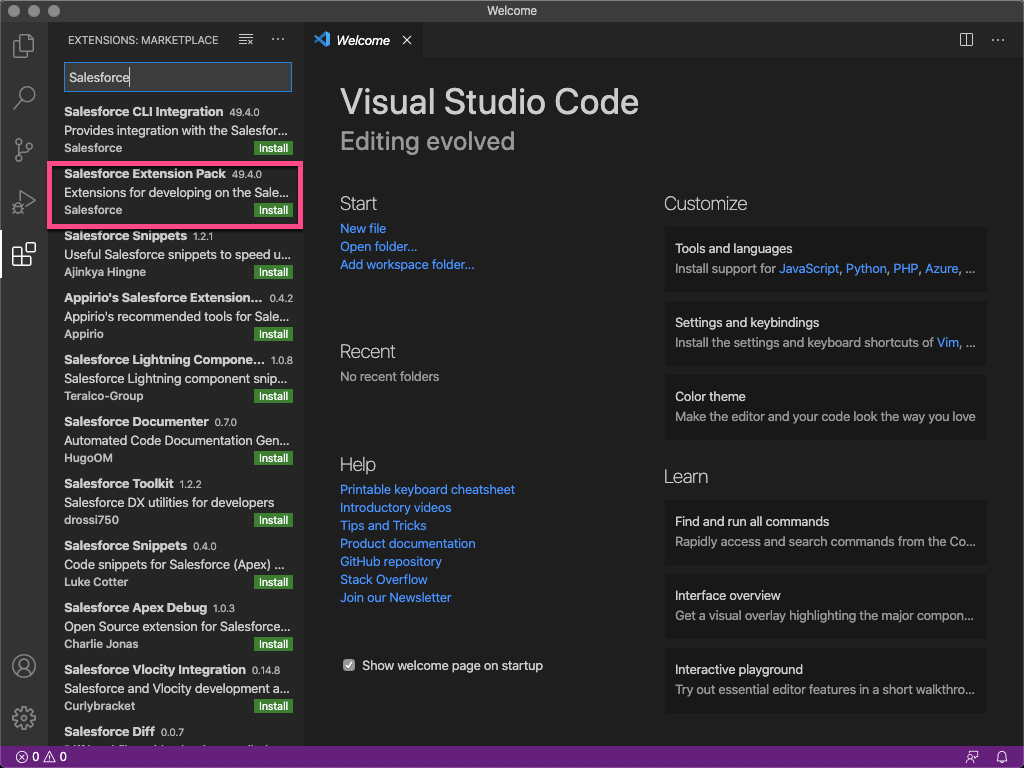
Step 3: Install Salesforce Extensions
One of the great things about Visual Studio Code is the much more user friendly code editing. You know what I’m talking about if you’ve ever tried to edit a Visualforce Page or a Lightning Component in the developer console. Hard to do if the developer didn’t indent things, right? Install the Salesforce Extensions pack and you’ll be good to go with templates & color coding for everything you may ever need to open in a code editor!

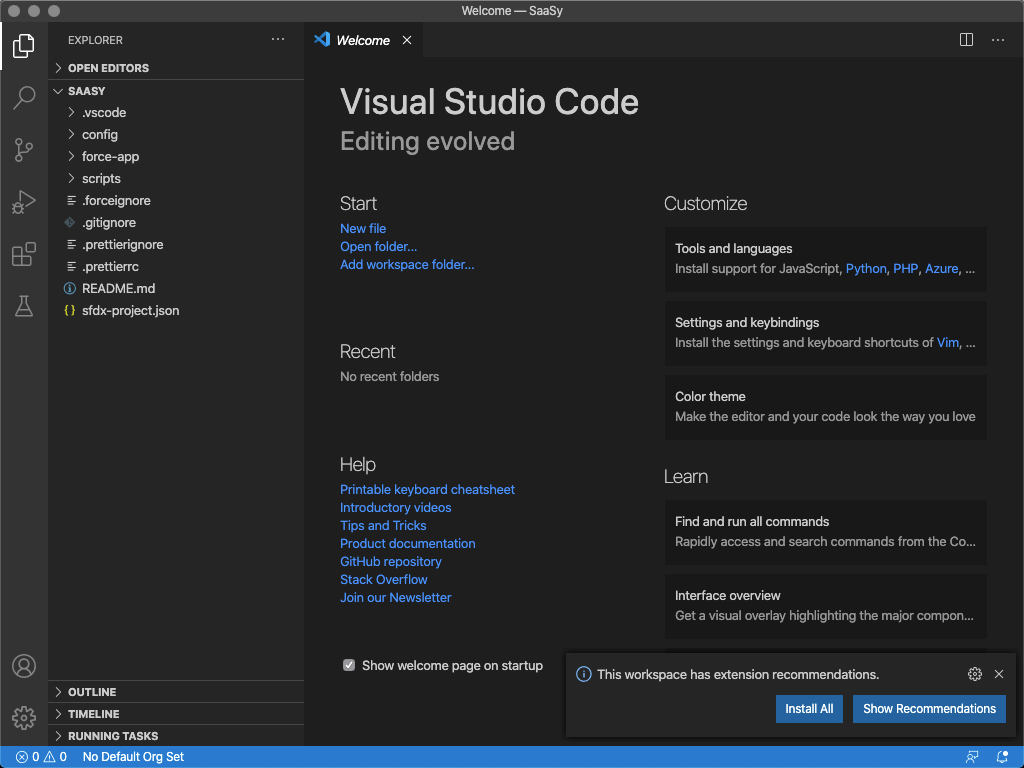
Step 4: Create A Project
This great code editor does no good if you can’t use it, so create a project. Start by hitting Cmd/ Ctrl + Shift + P and typing “sfdx”. This will pull up the sfdx specific commands. Select Create Project. I created a basic one called “SaaSy”.

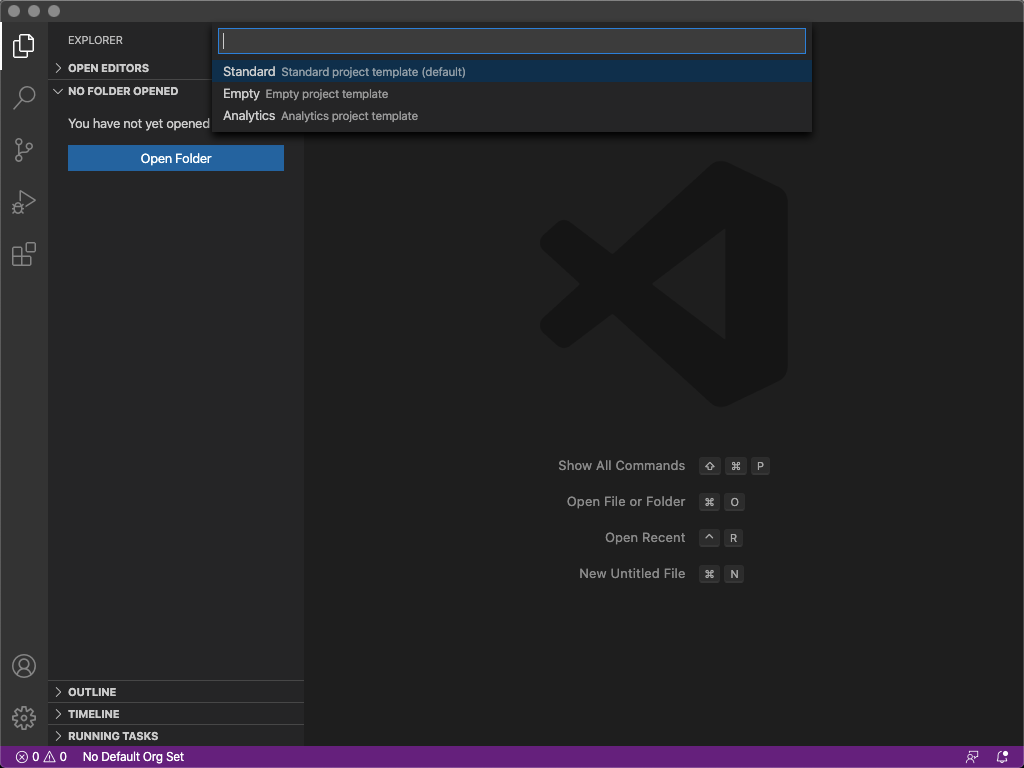

Note: If you want to create a “useful” project, you can follow this module in Trailhead. But this is not required.
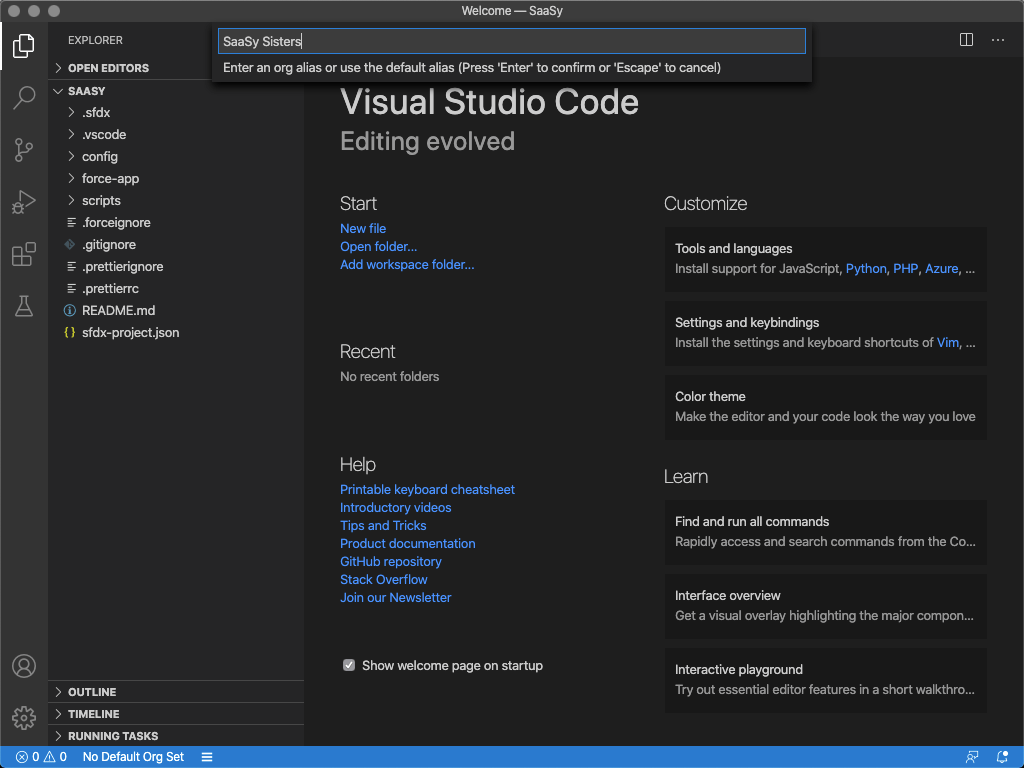
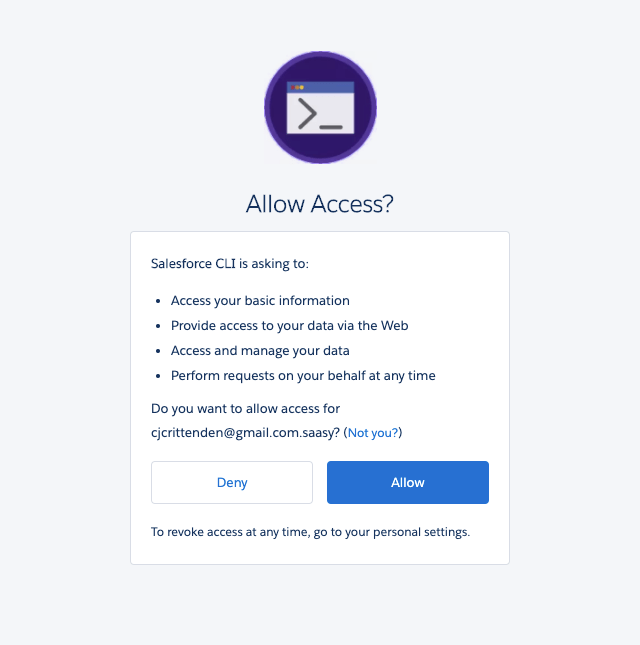
Step 5: Set A Default Org
This great code editor does no good if you don’t connect it to an org! So click on “No Default Org Set” at the bottom of the window and connect it to your org (I recommend a dev org if you’re just learning, or your Sandbox if you’re using for work purposes). See the image gallery below for step by step instructions & screen shots.


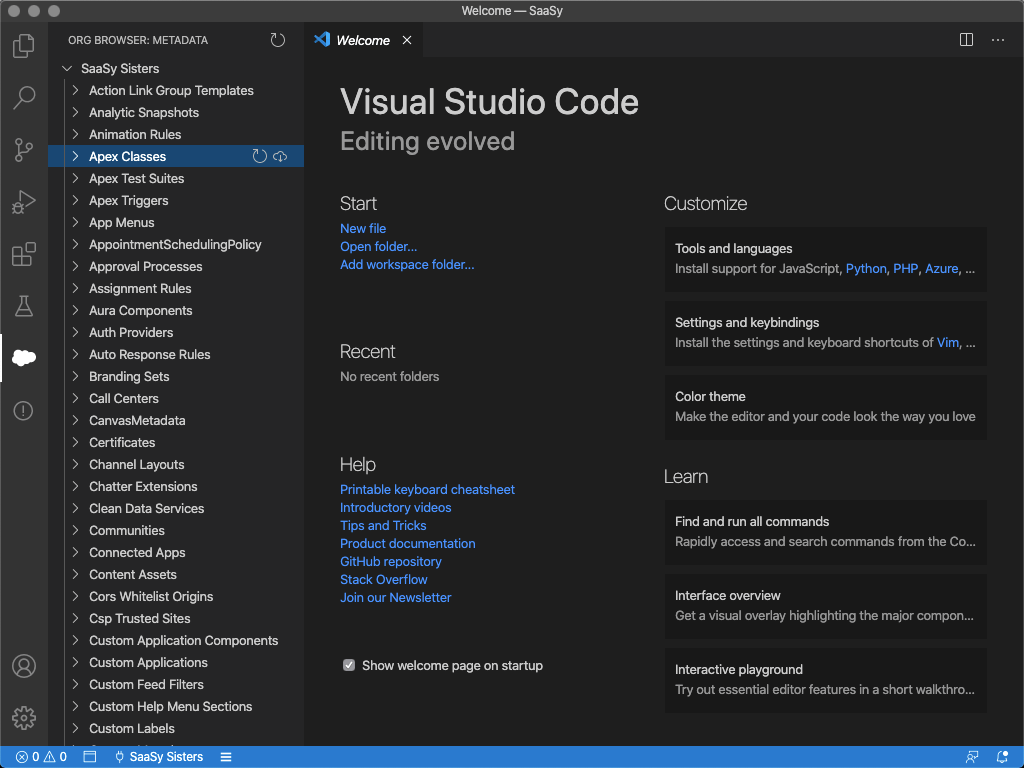
Step 6: Access Your Metadata
Now that you’ve connected to your org, the cloud on the left navigation will let you go in to your metadata. You do have to pick what you want to download, so don’t do this when you’re in a hurry. Things like Objects will come as broken apart XML files. Once you’ve downloaded the source files from your org, you can access them in the force-app section of your project.

Additional Resources
- Salesforce DX Setup Guide
- Trailhead Project – Quick Start: Lightning Web Components
