
I recently had the opportunity to present a session on Flow to my local User Group. One of the things I prepared – and thought I’d share – was my personal list of Best Practices.
(All of these are in addition to the Salesforce Best Practices which I’m sure you are already diligently adhering to.)
Best Practice #1: Add Descriptions to as many elements as possible.
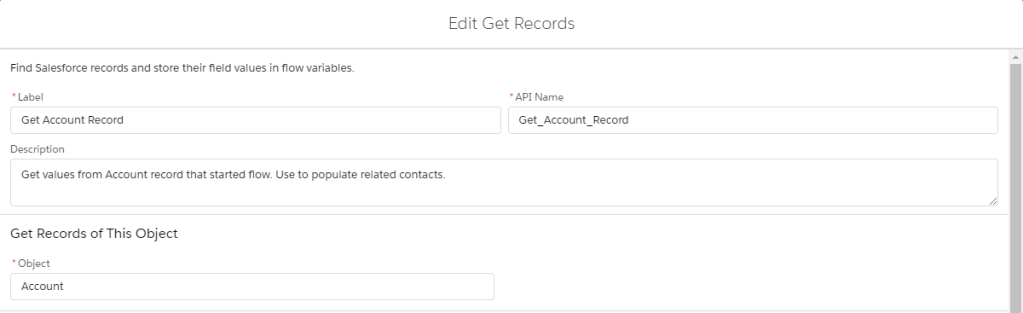
When you’re blazing through a flow and you’re deep in the flow-zone, it seems an arduous task to type out a description of something that’s so obvious. But I can promise you, it is something you’ll be thankful for later. When I was a solo admin, I never added descriptions because I knew what everything did, but then I joined a team of other admins. If you don’t want to take a call from a colleague while you’re on vacation because they can’t figure out your flow, add a description to tell them what the function of that variable or assignment node or get records node is for. Plus, when you go 6 months or more without updating your flow, future you will appreciate it, too.
Best Practice #2: Use concise, but descriptive Flow Names
It can be tempting – especially if you don’t have a lot of flows – to name them with something that is just the function they perform, like “Clone Opportunity with Products”. And that may work for you in a simple org, but as your love of flow grows (and I hope it does), you’ll find yourself coming to it more and more frequently as an automation tool. And it’ll be difficult to navigate your list of flows when you have 50 of them and they’re named “Clone Opportunity with Products” and “Create NDA”. My recommendation is to use a naming convention that works for you and your org. My go-to is usually something like “Main Object | Process.” So “Clone Opportunity with Products” becomes “Opportunity | Clone with Products”. Similarly, flows I design to specifically function as subflows I name “Subflow | Process”.
Best Practice #3: Limit the number of elements in your flow when possible
Like many things in life, simple is better. It can be tempting to just drag a decision element onto your flow canvas when you need to make multiple decisions, but sometimes you can accomplish the same thing with only one decision element.
True story: I installed an unmanaged package from an app provider once. Part of their Salesforce integration included a flow. Their flow looked at IDs to determine what kind of object the ID was for. So it followed a path like this:
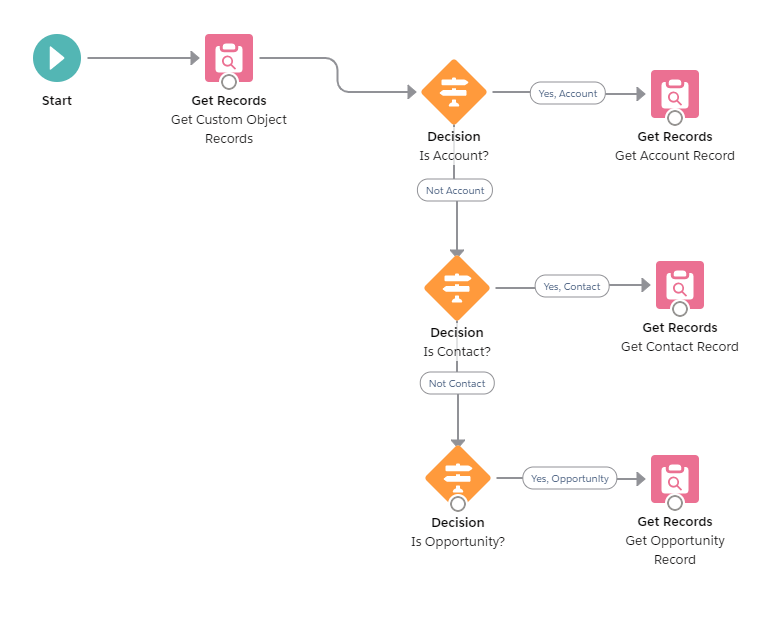
I moved all of those decision nodes into one. Because there is just one ID field to be checked and if it isn’t an Account record, it’s something else. Save yourself the pain of a messy canvas and combine where possible.

Best Practice #4: Always include a Fault Screen in Screen Flows
It can be so tempting to skip this step – and in my early flow days, I did. But the more I integrated Flows into the User Experience, the more I realized I needed to convey to my users when something went wrong – especially if they kept trying something over and over. When you’re using a screen flow, always add a Fault Screen so your users know something went wrong, and that you’re looking into it.
Best Practice #5: Use end-user friendly language on screens
As admins, we like to refer to things like “Objects” and “Records” and “Fault Screens”, but those words mean absolutely nothing to Joe Salesman. Use words and terms on your screens your end users will understand. For example, you may have followed Best Practice #4 and added a fault screen, but you just put the flow error on the screen. If you’ve never seen a Flow Error Message, consider yourself lucky. They take practice to decipher and they most certainly are not pretty. Keep it simple with your messages – something like “Uh-oh! Something went wrong” and let them know you’re working on it.
Bonus tip: Put your fault screen messaging in a subflow so you have consistent messaging across all flows. You could even include input variables so you can pass flow-specific information in.
Best Practice #6: Update Flow description when saving a new version
Flow is a beautiful tool because it forces us into version control, but when you’re on your fifth iteration of changes, it can be hard to remember what you’ve changed. Make it easy on yourself by briefly summarizing your changes in the Description when you save a new version – plus, this makes it easier for your fellow Admins to know which version to go back to if they need to.
